Table of Contents
Eyebrow mapping, Perfectly formed brows that accentuate your natural attractiveness depend on the procedure known as eyebrow mapping. With over five years of experience specializing in eyebrow care, I, a dermatologist, am committed to helping you look your best with tailored guidance on Womenestic. This blog will cover everything you need to know about eyebrow mapping, including professional advice, detailed guidelines, and answers to frequently asked questions.
What is Eyebrow Mapping?
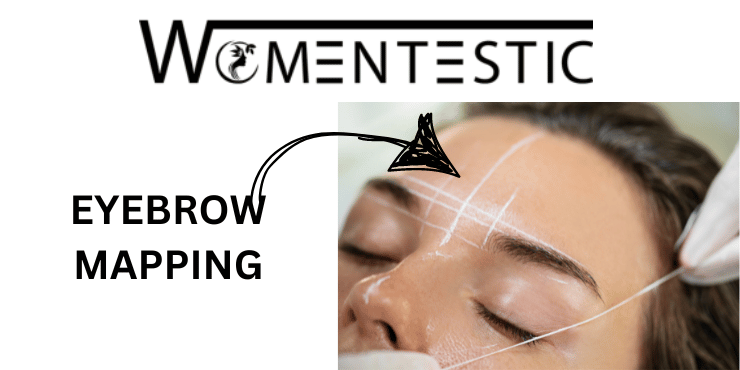
Brow mapping is a precise technique that determines the best form and location of your eyebrows based on your individual facial characteristics. Measuring particular areas on your face, this method helps you to determine where your eyebrows should begin, arch, and finish. Eyebrow mapping aims to provide symmetry and harmony, thereby accentuating your inherent attractiveness and matching your face form.
Why is Eyebrow Mapping Important?
Well-formed eyebrows will significantly enhance your overall appearance. They assist you in balancing your facial characteristics, framing your face, and emphasizing your eyes. Without proper mapping, you risk over-plucking, uneven brows, or forms that are inappropriate for your face. Eyebrow mapping guarantees that your brows are suited to your particular characteristics, therefore producing a polished, harmonic appearance.
How to Do Eyebrow Mapping: A Step-by-Step Guide
1. Gather Your Tools
Before you begin eyebrow mapping, make sure you have the necessary tools:
- Eyebrow Pencil: For marking key points.
- Ruler or Straight Edge: To measure and create straight lines.
- Spoolie Brush: To groom your brows.
- Tweezers: For plucking stray hairs.
- Eyebrow Scissors: For trimming long hairs.
2. Identify the Starting Point of Your Brows
The first step in eyebrow mapping is to determine where your brows should start. This is crucial for creating balance and ensuring your eyebrows frame your face properly.
- Hold the ruler or straight edge vertically against the side of your nose, aligning it with the inner corner of your eye.
- The point where the ruler intersects your brow bone is where your eyebrow should start.
- Mark this point with your eyebrow pencil.
3. Find the Arch Point
The arch is the highest point of your eyebrow and plays a key role in shaping your face. A well-placed arch can make your eyes appear larger and more awake.
- Keep the ruler against the side of your nose, but this time align it with the outer edge of your iris (the colored part of your eye).
- The point where the ruler meets your brow bone is where your arch should be.
- Mark this point with your eyebrow pencil.
4. Determine the Ending Point of Your Brows
The end of your eyebrow is just as important as the start and arch. It should taper off naturally and align with your facial features.
- Hold the ruler against the side of your nose and angle it to align with the outer corner of your eye.
- The point where the ruler intersects with your brow bone is where your eyebrow should end.
- Mark this point with your eyebrow pencil.
5. Connect the Dots
Now that you’ve marked the starting point, arch, and ending point, it’s time to connect these dots to outline your ideal eyebrow shape.
- Use your eyebrow pencil to draw a light line connecting the starting point to the arch, and then from the arch to the ending point.
- Repeat this process on the lower edge of your brow, connecting the bottom points.
6. Shape Your Brows
With your ideal shape outlined, you can now begin shaping your brows.
- Pluck stray hairs: Using your tweezers, carefully pluck any hairs that fall outside the outline.
- Trim long hairs: If you have longer brow hairs, use your eyebrow scissors to trim them. Brush your brows upward with a spoolie brush, and trim any hairs that extend beyond the outline.
- Fill in sparse areas: If you have any gaps or sparse areas, use your eyebrow pencil or powder to fill them in, following the outline.
7. Refine and Perfect
After shaping your brows, step back and assess your work.
- Ensure that both eyebrows are symmetrical and balanced.
- Make any necessary adjustments by refining the shape or plucking additional stray hairs.
- For a finishing touch, you can apply a clear brow gel to hold your brows in place.
Best Eyebrow Mapping Tips
1. Consider Your Face Shape
Your face shape plays a crucial role in determining the best eyebrow shape for you. Here’s a quick guide:
- Round Face: Opt for high, sharp arches to add length.
- Square Face: Soft, rounded brows balance a strong jawline.
- Oval Face: Soft arches complement the natural balance of your features.
- Heart-Shaped Face: High arches draw attention upward and balance the forehead with the chin.
- Long Face: Straight brows help shorten the face’s appearance.
Understanding your face shape helps you customize your eyebrow mapping to enhance your unique features.
2. Symmetry is Key
Well-formed eyebrows will significantly enhance your overall appearance. They assist you in balancing your facial characteristics, framing your face, and emphasizing your eyes. Without proper mapping, you run the risk of over-plucking, uneven brows, or forms inappropriate for your face. Eyebrow mapping guarantees that your brows are suited to your particular characteristics, therefore producing a polished, harmonic appearance.
3. Don’t Over-Pluck
Overplucking is one of the most common mistakes in eyebrow shaping. Following the outline developed while mapping is crucial; hence, one should avoid deleting too many hairs. If you’re not sure, pluck a few hairs at a time, then back off to see how it looks before moving further.
4. Use Light Strokes for a Natural Look
Use soft, feathery strokes with your eyebrow pencil or powder to mimic natural hair. This method avoids the severe, drawn-on effect and produces a more natural and realistic image.
5. Keep Your Tools Clean
Good and safe eyebrow mapping requires clean instruments. To get any accumulation of makeup, oil, or dead skin off your tweezers, scissors, and spoolie brush, routinely wash them. This exercise guarantees exact shape and helps avoid infections.
FAQs
How often should I map my eyebrows?
It’s recommended to map your eyebrows every 4-6 weeks to maintain their shape. Regular mapping ensures that your brows stay symmetrical and well-groomed as they grow back.
Can I do eyebrow mapping at home, or should I see a professional?
You can definitely do eyebrow mapping at home with the right tools and techniques. However, if you’re unsure or want a more precise shape, seeing a professional for the initial mapping can be beneficial.
What if my eyebrows are uneven or have gaps?
If your eyebrows are uneven or have gaps, mapping can help you identify the best shape for balance. You can use makeup products like pencils, powders, or brow gels to fill in gaps and create symmetry.
How do I know if I’ve over-plucked my eyebrows?
If you notice that your eyebrows look too thin, patchy, or have lost their natural shape, you may have over-plucked. Avoid plucking more and let your brows grow back for a few weeks before reshaping.
What’s the best way to maintain my eyebrow shape between mappings?
To maintain your eyebrow shape between mappings, avoid over-plucking and regularly brush your brows with a spoolie. You can also use a clear brow gel to keep them in place and looking polished.